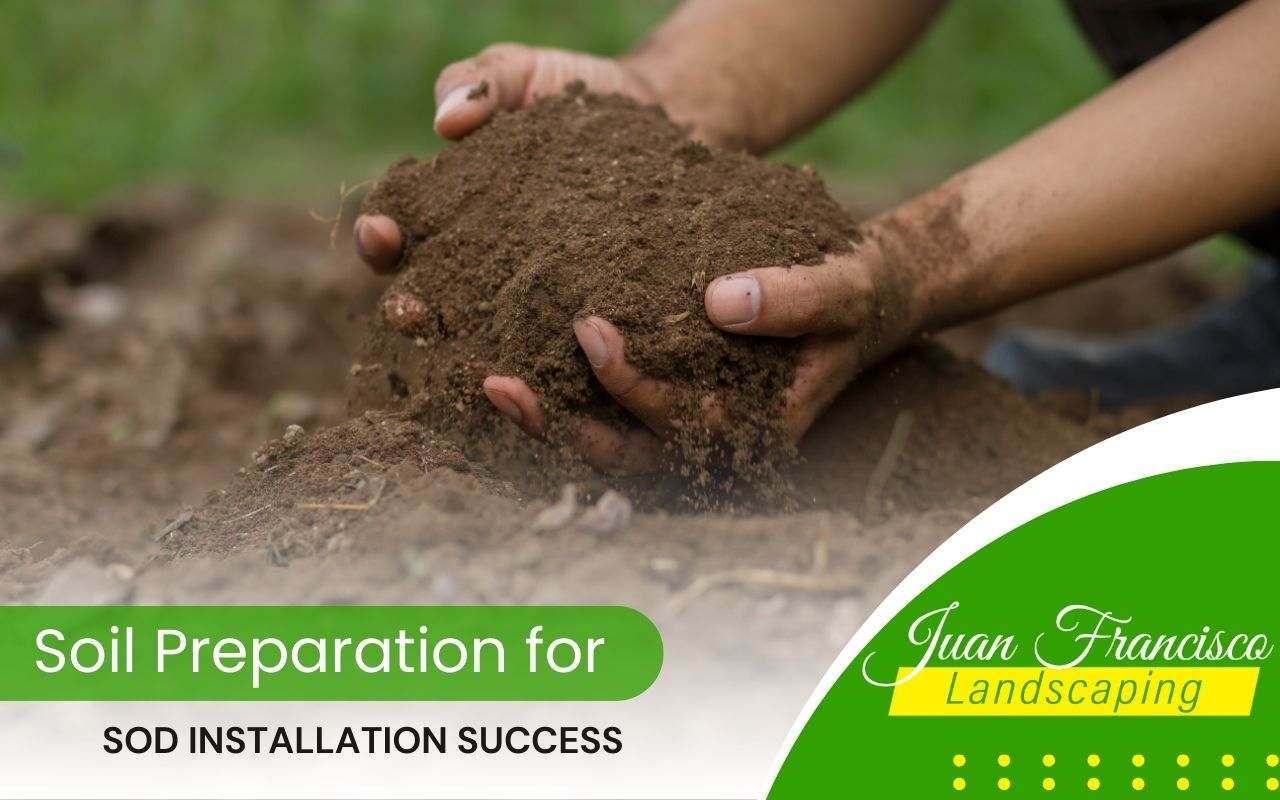
Soil Preparation for Sod Installation Success
Achieving a lush, healthy lawn starts from the ground up—literally. Soil preparation for sod is a crucial step that ensures your new grass has the ideal environment to establish deep roots, absorb nutrients, and grow resilient against Knoxville’s climate. With the right preparation, you’re setting your sod up for a lifetime of healthy, green growth. Here’s how to create the perfect foundation for a thriving lawn.
Clean and Clear Your Lawn for a Fresh Sod Start
Effective soil preparation for sod begins with a clean slate. Here’s what you need to do to set the stage.
Remove Old Grass and Weeds Completely
Start by eliminating old grass, weeds, and roots from your lawn area. These remnants can compete with new sod for nutrients and moisture, so use a sod cutter or shovel to clear the area thoroughly. Removing this layer allows your new sod to bond directly with nutrient-rich soil, ensuring it gets a strong start.
Clear Rocks, Sticks, and Other Debris
After removing old vegetation, ensure the soil surface is smooth and debris-free. Rocks, sticks, and other obstacles can hinder the sod’s root growth. Use a rake to clear the area and level the ground, which will also help prevent uneven spots and make mowing easier down the line.
Test and Amend Soil for Optimal Sod Growth
Soil preparation for sod installation requires understanding and adjusting the soil’s composition. Testing and amending your soil provides a nutrient-rich environment where sod can thrive.
Conduct a Soil pH and Nutrient Test
A proper soil test reveals crucial information about your soil’s pH level and nutrient content. The ideal pH for sod is typically between 6.0 and 7.0. You can purchase a soil testing kit or consult a local gardening center to evaluate the soil. This step ensures you’re working with the right foundation.
Amend the Soil for Balance and Health
Adjust the soil’s pH and nutrient levels as needed based on the results. If the pH is too low (acidic), add lime to increase it; if it’s too high (alkaline), sulfur can help lower it. Mix organic matter or compost into the soil for nutrient deficiencies to enrich it. These amendments create a supportive environment that encourages your sod’s root system to grow strong and deep.
Perfecting the Soil Surface: Tilling, Grading, and Compacting
Once the soil is nutrient-rich, it’s time to create the ideal structure for sod installation.
Till the Soil to Improve Root Access
Tilling loosens up compacted soil, improving aeration and root penetration. Use a tiller to break up the top 2-3 inches of soil, making it easier for sod roots to spread and absorb nutrients. Proper tilling helps roots establish quickly and firmly.
Grade the Surface for Drainage
Grading is essential to prevent water pooling and promote proper drainage. A slight slope away from buildings and walkways ensures that excess water flows away from your sod, reducing the risk of root rot. This step is key for Knoxville’s varied rainfall patterns.
Compact Lightly for Stability
After tilling and grading, lightly compact the soil with a roller. This stabilizes the surface without over-packing it, creating a solid base for the sod while still allowing roots to penetrate the soil. A stable base means your sod will remain securely in place as it takes root.
Start Your Knoxville Sod Installation Right
When it comes to soil preparation for sod, putting in the effort now will yield a lawn that’s vibrant and durable. A clean, well-prepared, and nutrient-rich soil foundation helps sod establish quickly, looking beautiful season after season. We specialize in sod installation, irrigation systems, and hardscaping, helping Knoxville homeowners create landscapes that enhance their homes. Contact us to learn more about making your lawn a lasting success!
